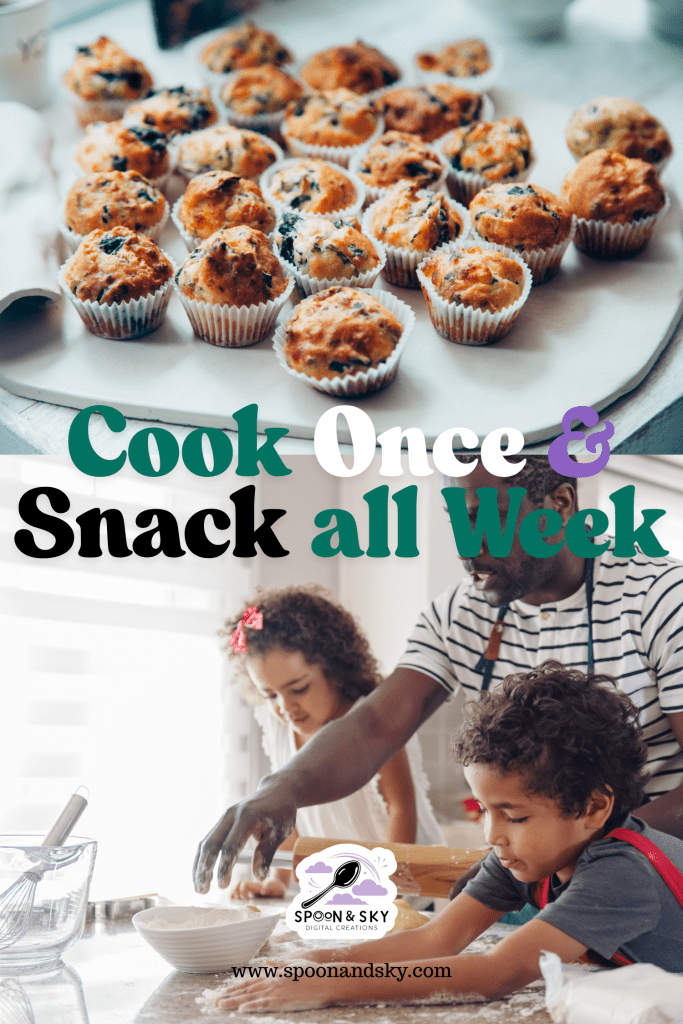
Cook once and have snacks ready all week long!
Batch make snacks for kids is one of the simplest ways to bring calm and consistency to busy family life. If there’s one thing parents everywhere know, it’s this: kids are always hungry. By preparing a few easy snacks in one go, you can eliminate daily decision fatigue, reduce ultra-processed food reliance, and ensure nourishing options are always ready when little tummies start rumbling. This guide will show you how to cook once, stock your fridge, and enjoy stress-free snacking all week long — without complicated recipes or extra effort.
If there’s one thing parents everywhere know, it’s this: kids are always hungry. Whether it’s the moment you pick them up from school, mid-morning before lunch, or just after bedtime (yes, really), little ones seem to run on snacks as much as they run on play and imagination.
The good news? Snacks don’t have to mean a packet grabbed in a rush. With just a little planning and an hour or two in the kitchen, you can fill tins, jars, and lunchboxes with homemade, nourishing snacks that are easy to batch make and keep well through the week.
Today, I’m sharing five of my tried-and-true recipes — each one simple, kid-approved, and designed to last for up to a week. Think of them as building blocks: they’re endlessly adaptable, easy to prep in bulk, and perfect for when the “I’m huuungry” chorus begins.
Why Batch-Make Snacks?
- Saves time and sanity: Spend one baking session, and you’re set for days.
- More nourishing: You know exactly what’s going into those little bellies.
- Less packaging waste: Goodbye single-use wrappers, hello reusable tins.
- Encourages independence: Keep a jar or box at child-height so kids can choose their own snack.
A little bit of forethought turns snack time into a calmer, easier part of your week — one less thing to juggle among school runs, laundry, and playtime adventures.
1. Chewy Granola Bars
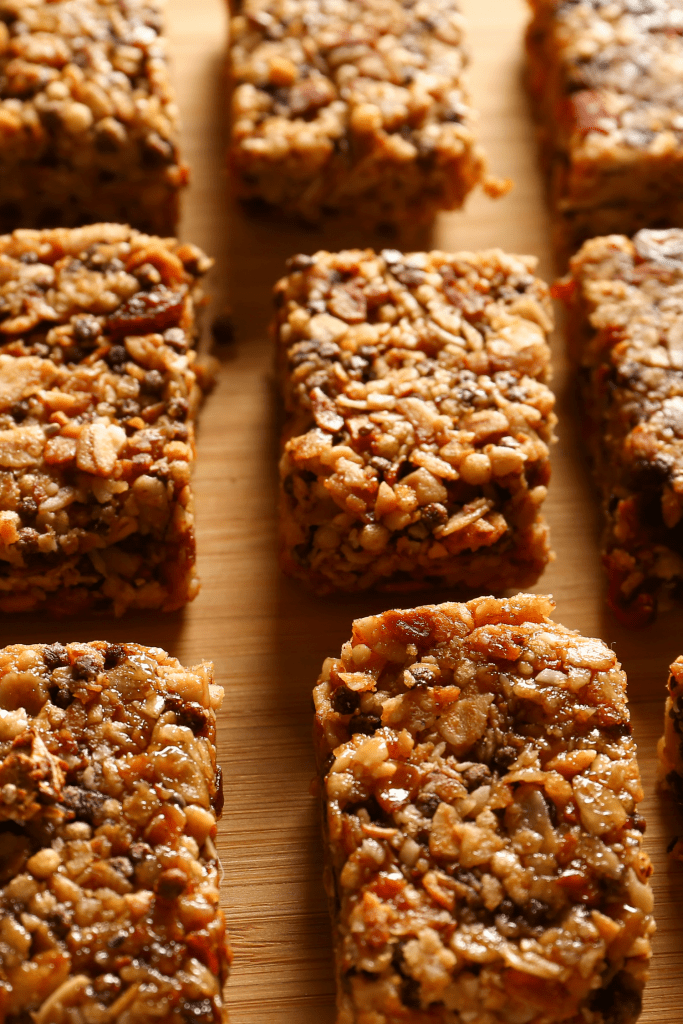
Why we love them: They’re energy-packed, portable, and endlessly customizable.
Base Ingredients:
- 2 cups rolled oats
- ½ cup honey or maple syrup
- ½ cup nut or seed butter (peanut, almond, or sunflower for nut-free)
- ½ cup dried fruit (raisins, cranberries, apricots)
- ½ cup seeds or mini chocolate chips
Method:
- Warm the honey/maple syrup and nut butter in a pan until smooth.
- Stir in oats, dried fruit, and seeds/chocolate chips.
- Press firmly into a lined tin.
- Chill until set, then cut into bars.
Storage: Keep in an airtight tin for up to a week.
Variation: Add a sprinkle of cinnamon or shredded coconut for a cosy twist.
2. Soft Oat Cookies
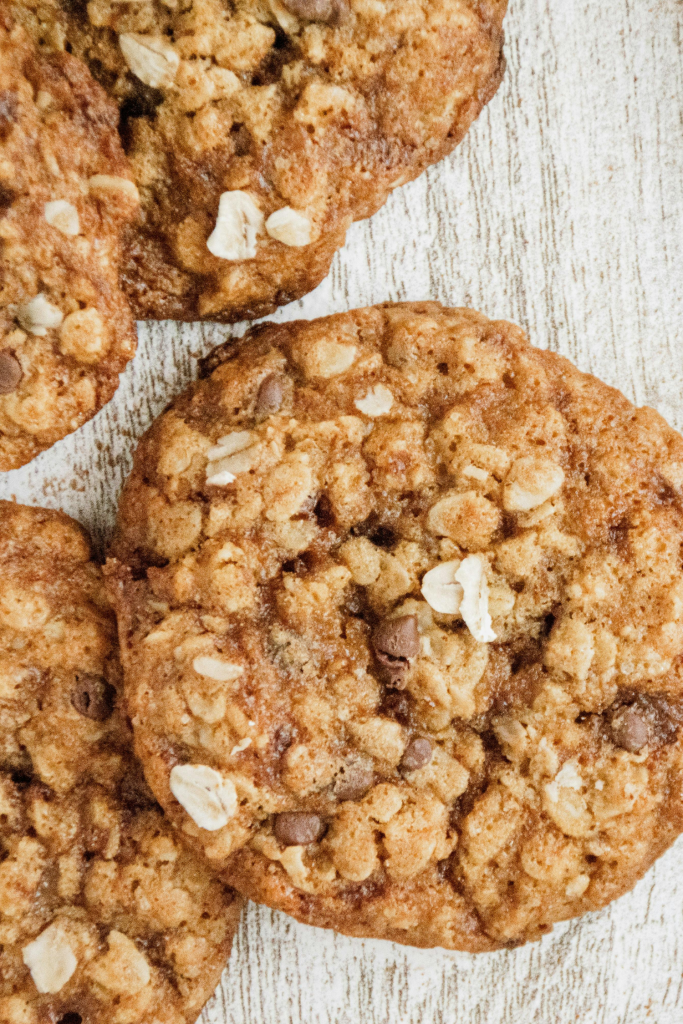
Why we love them: They’re like a hug in cookie form — chewy, gently sweet, and just right for little hands.
Base Ingredients:
- 2 ripe bananas, mashed
- 2 cups rolled oats
- ½ cup raisins or chopped dates
- 1 tsp cinnamon
Method:
- Preheat oven to 180°C (350°F).
- Mix everything in a bowl (yes, it’s that easy).
- Scoop onto a lined tray and flatten slightly.
- Bake for 12–15 minutes until golden.
Storage: Store in a jar or tin for 5–6 days.
Variation: Stir in grated apple or carrot for extra goodness.
3. Cheesy Veggie Muffins
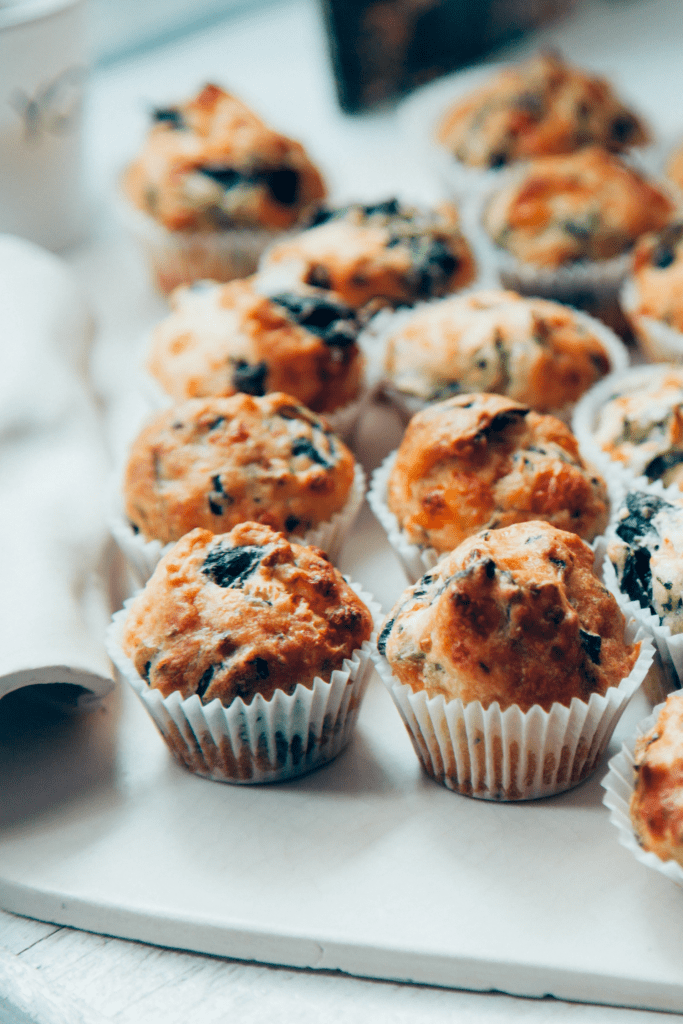
Why we love them: Savoury snacks get overlooked, but these are hearty, filling, and sneak in veggies without fuss.
Base Ingredients:
- 1 cup grated courgette or carrot (squeeze excess water)
- 1 cup grated cheddar
- 1 cup plain flour
- 1 tsp baking powder
- 2 eggs
- ¼ cup milk
- Pinch of salt & pepper
Method:
- Preheat oven to 180°C (350°F).
- Mix wet ingredients (eggs, milk). Add grated veg and cheese.
- Fold in flour and baking powder until just combined.
- Spoon into muffin cases and bake 20–25 minutes.
Storage: Store in a tin for 2–3 days, or refrigerate for up to 5.
Variation: Add sweetcorn or peas for a rainbow of flavour.
4. Mini Energy Balls
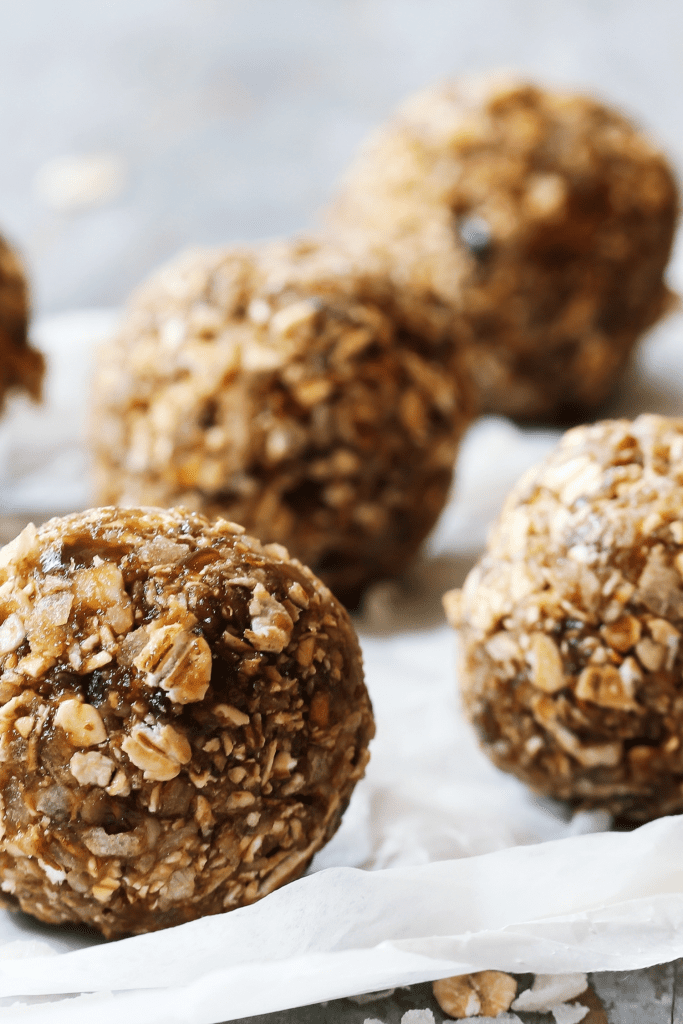
Why we love them: Bite-sized, no-bake, and perfect for lunchboxes or pre-park snacks.
Base Ingredients:
- 1 cup rolled oats
- ½ cup nut or seed butter
- ¼ cup honey
- ¼ cup ground flaxseed or chia
- Handful of mini chocolate chips or dried fruit
Method:
- Stir all ingredients together until sticky.
- Roll into bite-sized balls.
- Chill in the fridge for at least 30 minutes.
Storage: Refrigerate in a jar for up to a week.
Variation: Roll in desiccated coconut or cocoa powder for extra fun.
5. Homemade Veggie Crisps
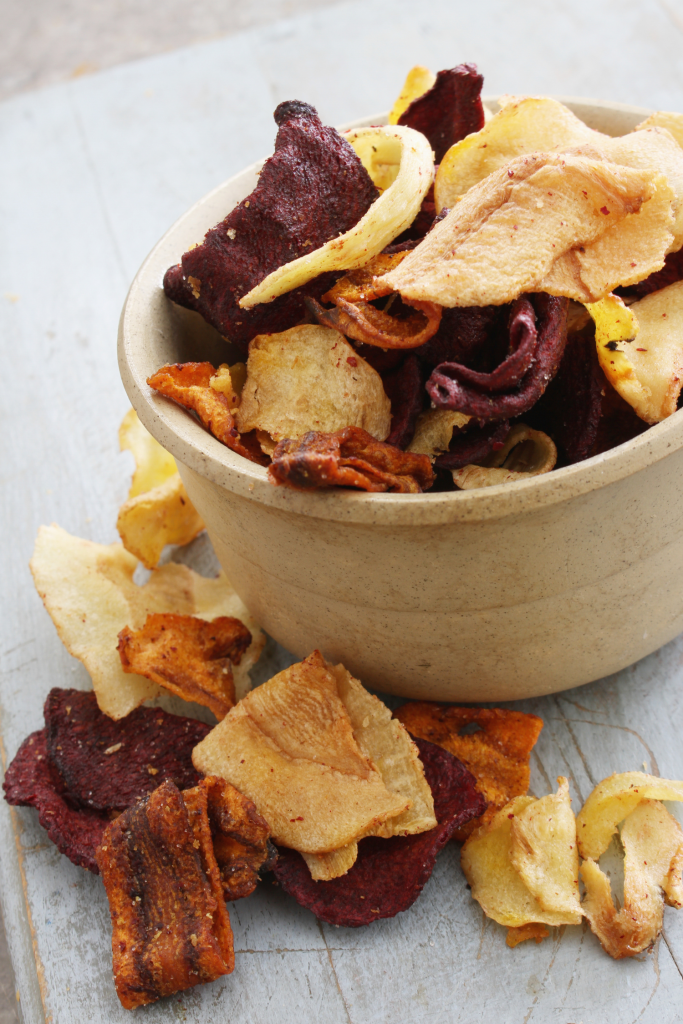
Why we love them: Crispy, colourful, and a great alternative to shop-bought crisps. Kids love helping with these too!
Base Ingredients:
- 2–3 root veggies (sweet potato, beetroot, carrot, parsnip)
- Olive oil
- Pinch of salt
Method:
- Preheat oven to 160°C (320°F).
- Slice veggies thinly (a mandoline works best, but a sharp knife is fine).
- Toss lightly in oil and spread on a lined tray.
- Bake 20–30 minutes, turning once, until crisp.
Storage: Store in an airtight container for up to 5 days.
Variation: Sprinkle with paprika or rosemary for added flavour.
Get all the recipes neatly for you to follow below:
Tips for Happy Batch-Making
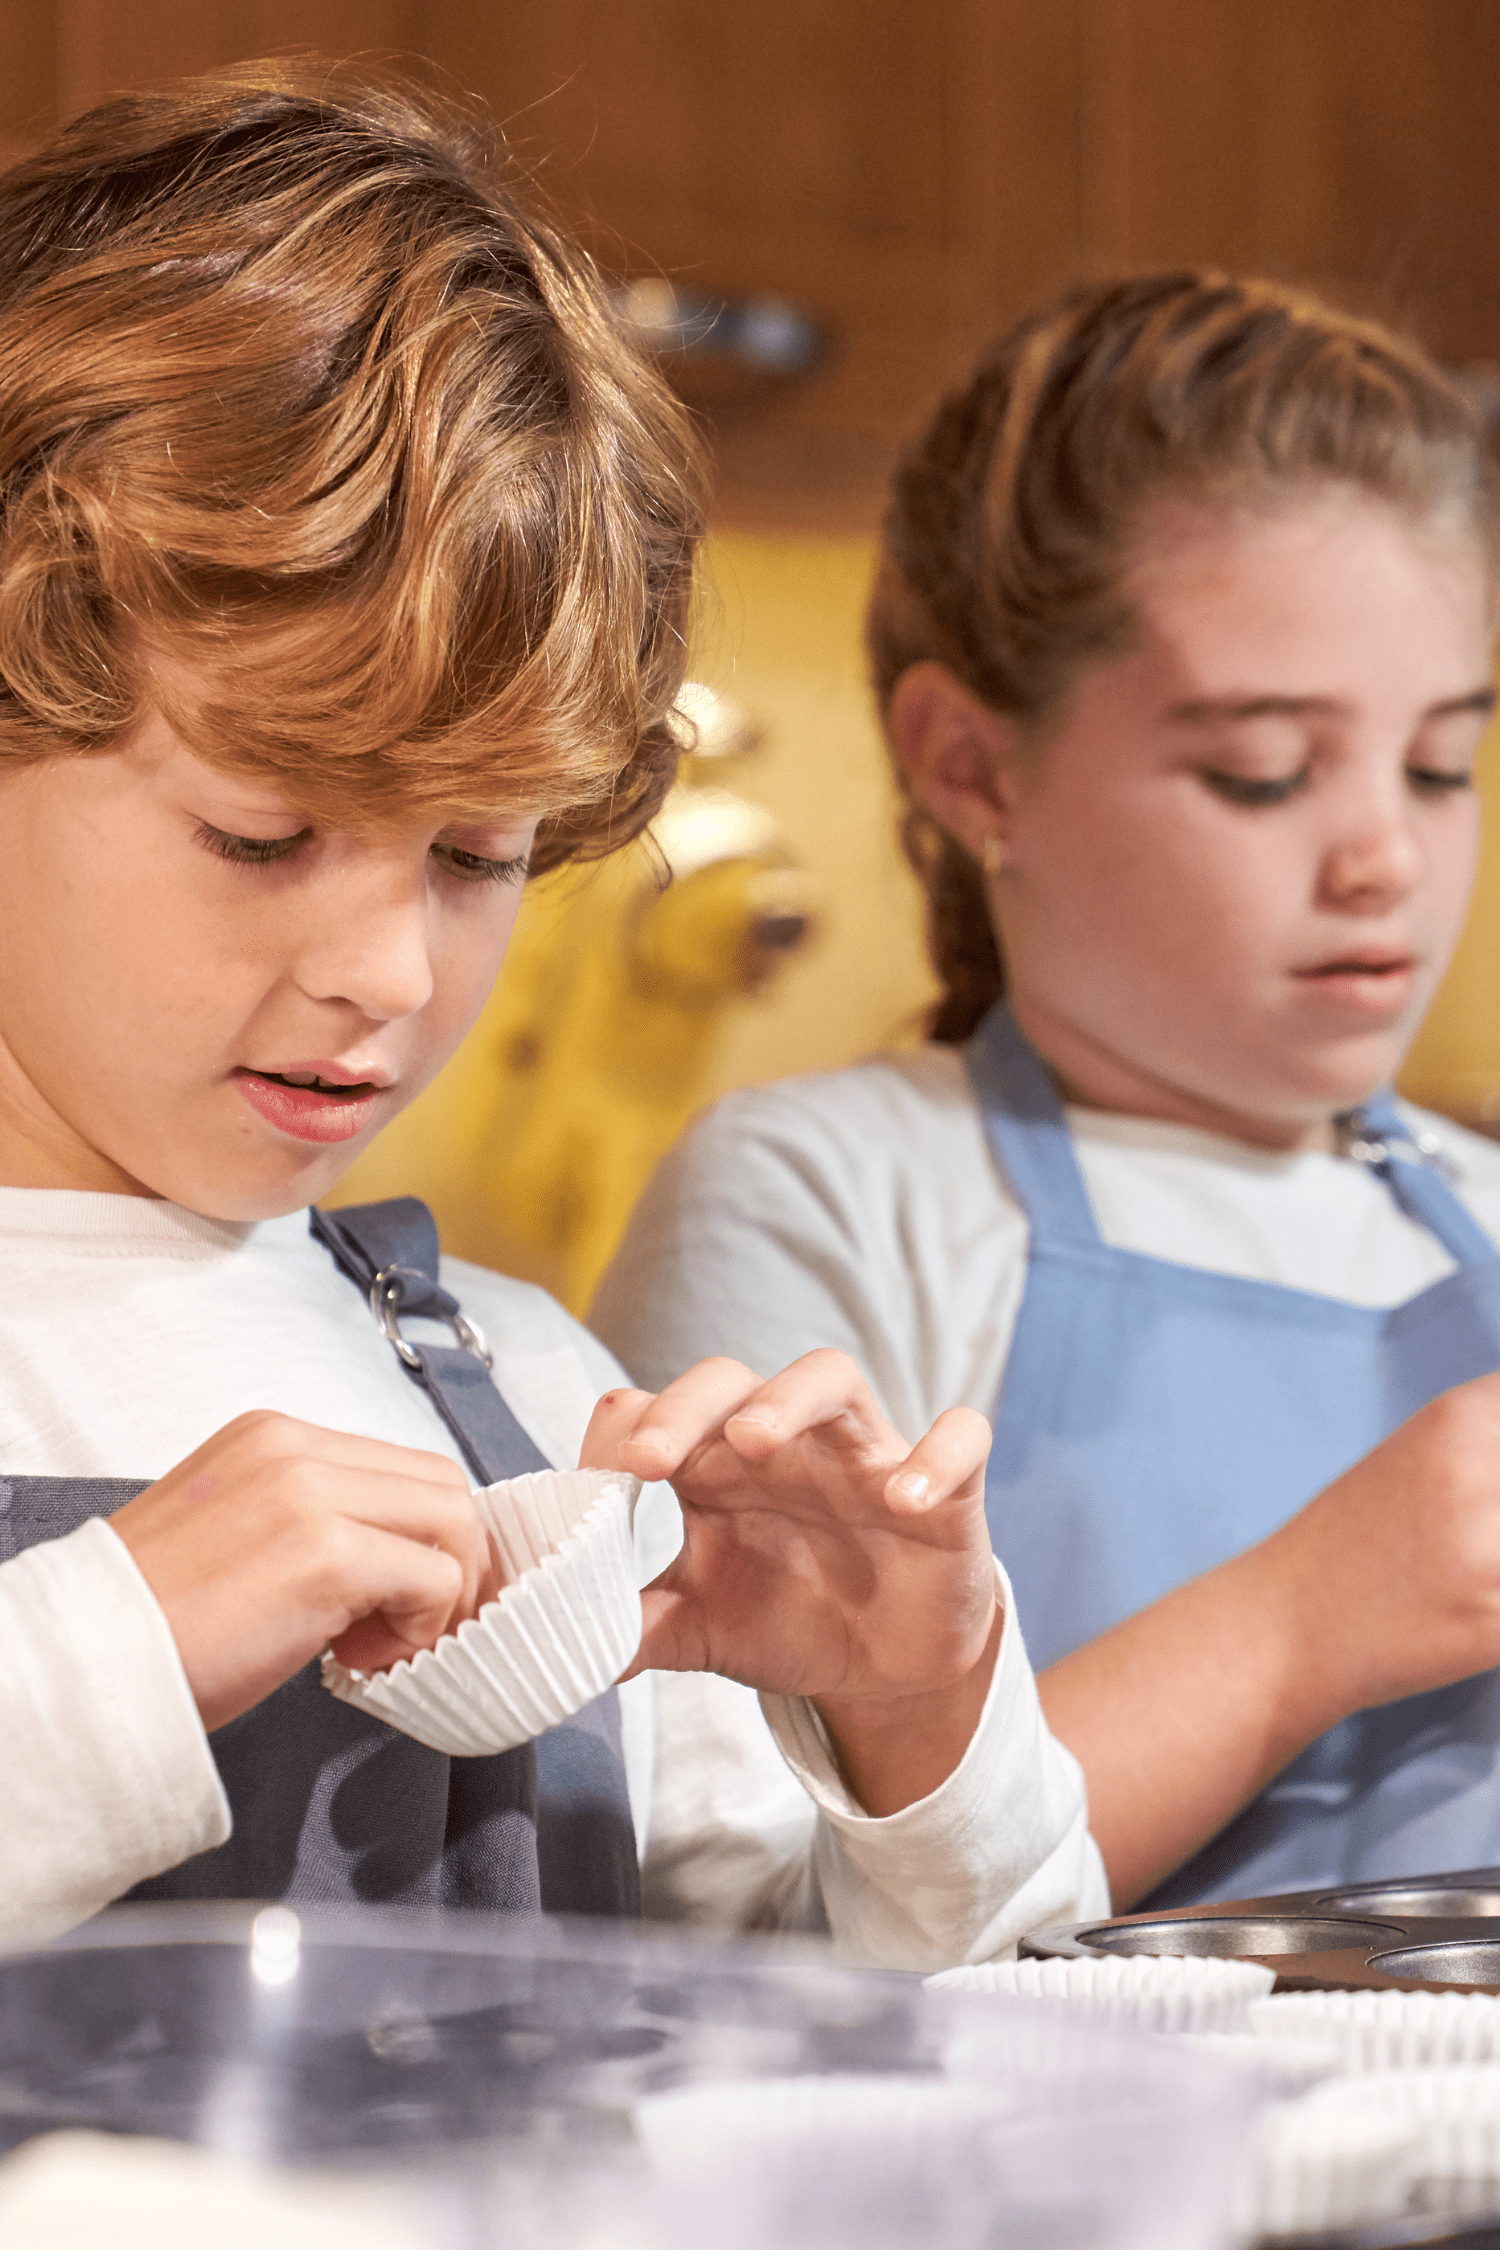
- Get the kids involved: Stirring, spooning, and taste-testing are part of the fun.
- Mix sweet and savoury: A balance keeps snack time interesting.
- Use what you have: Swap nuts for seeds, dried fruit for chocolate — flexibility is key.
- Make it a ritual: Sunday afternoons or Friday evenings can become your family’s “snack prep” time.

Bringing It All Together
Batch-making snacks doesn’t have to be another overwhelming task. With a few simple recipes, easy ingredients, and a little weekly rhythm, you can fill your kitchen with nourishing options that your children will actually enjoy. These snacks aren’t just food — they’re little gestures of care, calm, and connection tucked into busy days.
So the next time you hear, “Mum, I’m hungry,” you can smile, point to the snack tin, and know you’ve got it covered.
🍪 Now, if you’ll excuse me, there are some soft oat cookies cooling on the counter — and little fingers are already sneaking in for a taste.
With a sprinkle of crumbs and calm,
Lily Luz
Spoon & Sky

✨ Get Your Free Printable ✨
Looking for a simple way to bring a little more calm, structure, or creativity into your day?
Enter your email below and get instant access to your free printable from Spoon & Sky — made to spark joy, imagination, and gentle rhythms at home. 🌿
We’ll send your printable and a few kind, helpful ideas to your inbox. No spam — just calm, creative family tools.
Leave a Reply